Make Socks and Shoes for a Child Doll
Supplies:
Fine lace, doll with flat feet, leather scraps from an old glove,Tacky glue, tiny bead or button.
Fine lace, doll with flat feet, leather scraps from an old glove,Tacky glue, tiny bead or button.
|
|
|
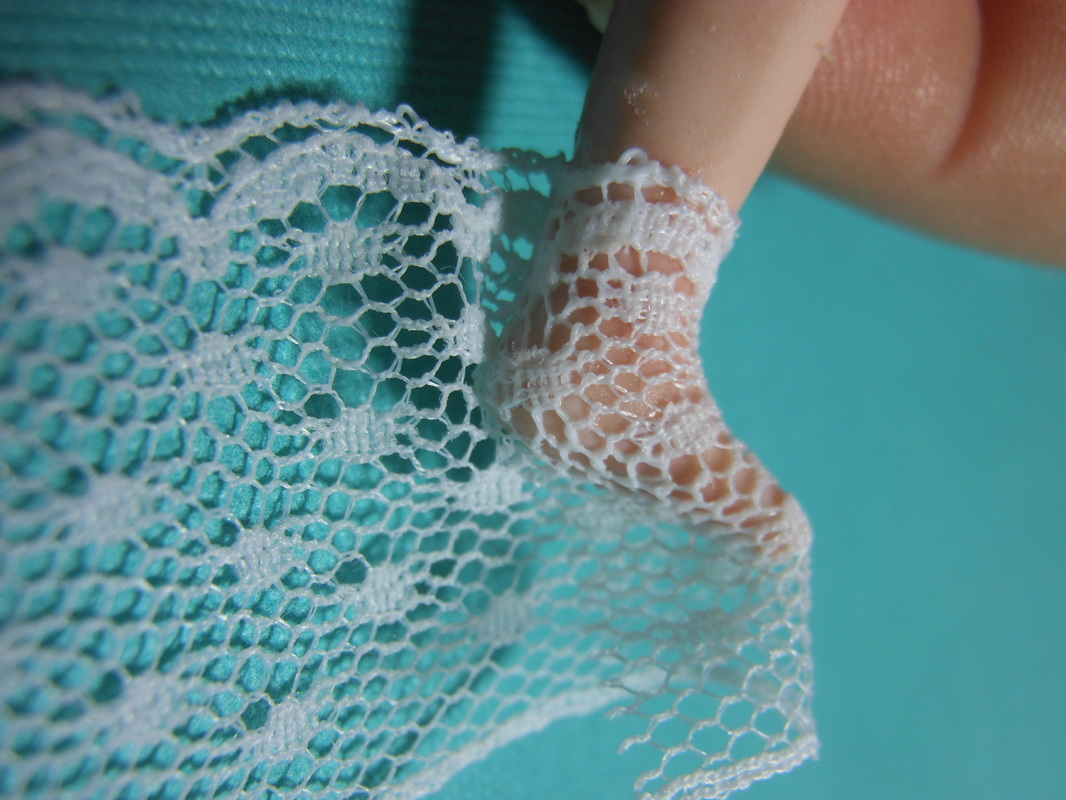
Socks
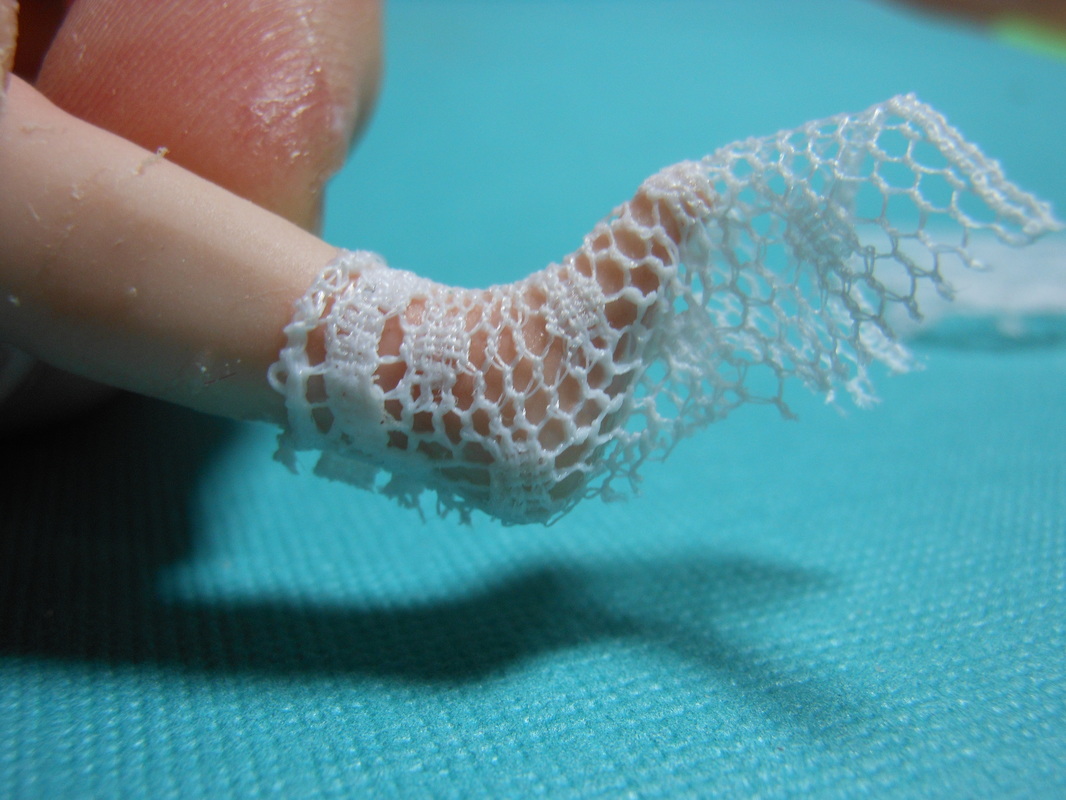
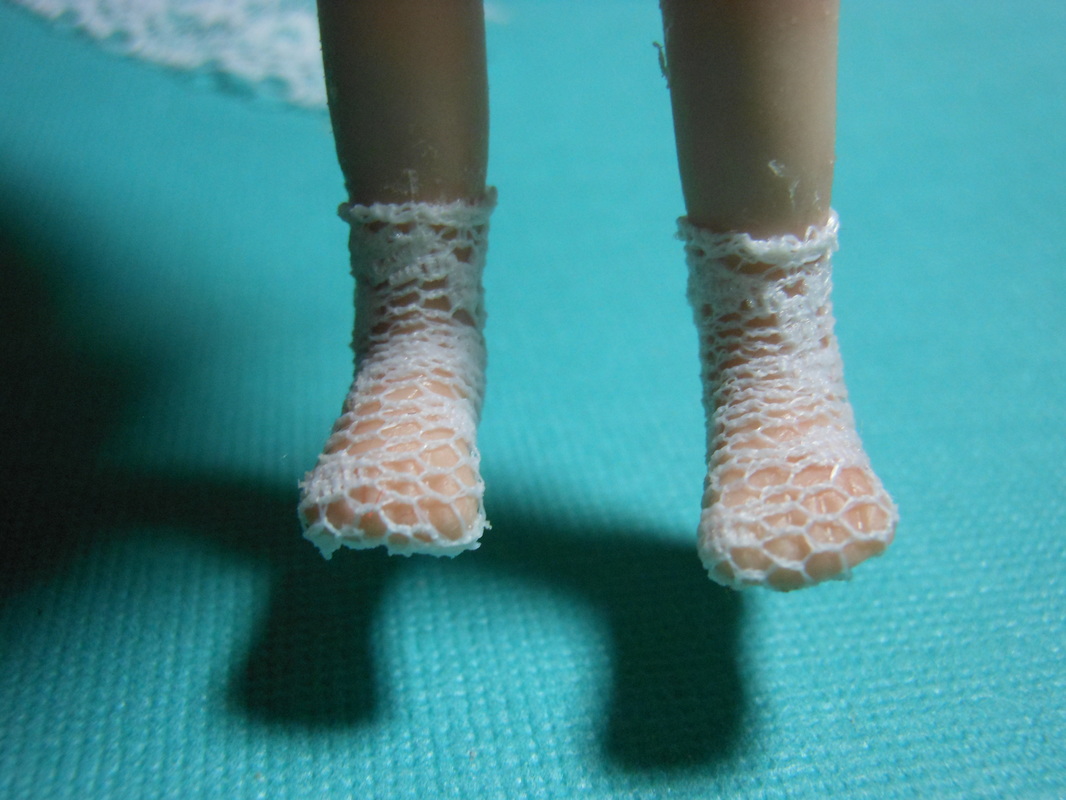
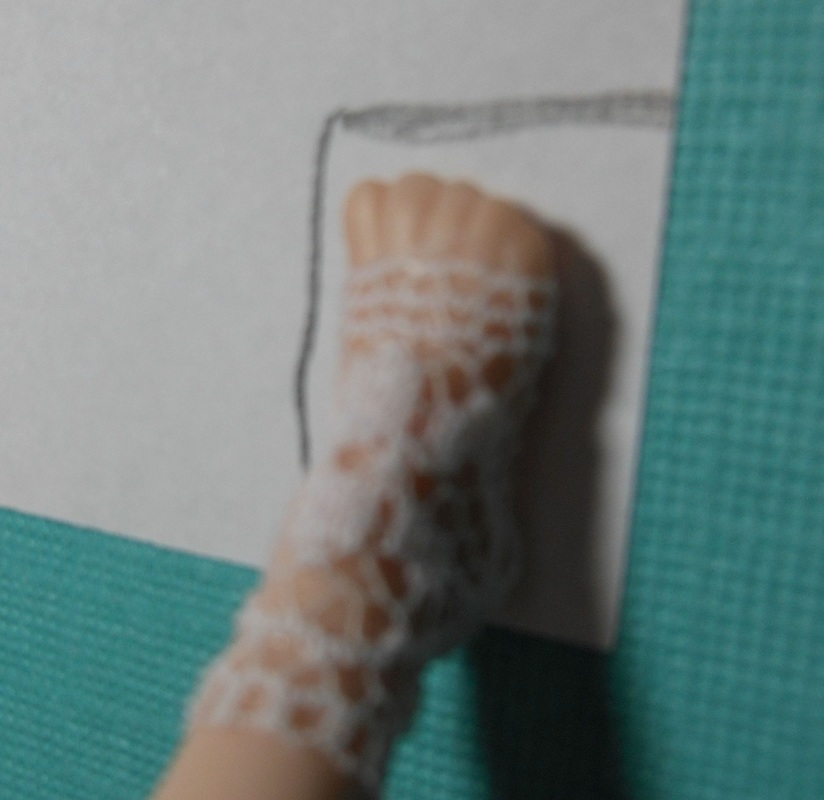
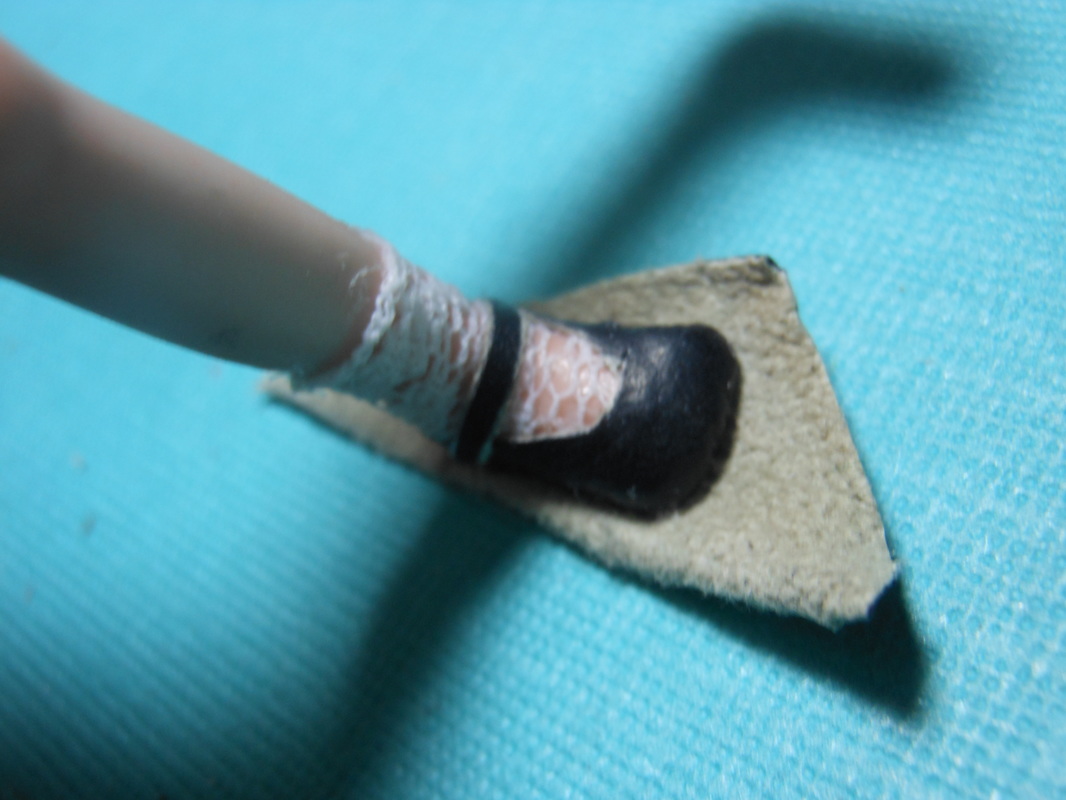
Cut a piece of lace long enough to go around both of the dolls leg and foot areas. Slather glue above the ankle and over the foot. Beginning at the back of the heel/leg, place the lace with the fancy side on the leg area and wrap it around the leg until it butts up to the other side of the lace. Cut off lace, trim where needed and press with a small iron to set lace into glue. Do the same at the bottom of the foot. Trim off excess lace and fold back under the foot. Do your best not to add bulk under the foot- this will not be seen after the shoes are on. Do both legs at the same time to be sure you have the sock tops at the same level.
Cut a piece of lace long enough to go around both of the dolls leg and foot areas. Slather glue above the ankle and over the foot. Beginning at the back of the heel/leg, place the lace with the fancy side on the leg area and wrap it around the leg until it butts up to the other side of the lace. Cut off lace, trim where needed and press with a small iron to set lace into glue. Do the same at the bottom of the foot. Trim off excess lace and fold back under the foot. Do your best not to add bulk under the foot- this will not be seen after the shoes are on. Do both legs at the same time to be sure you have the sock tops at the same level.
|
|
|
|
|
|
Shoes
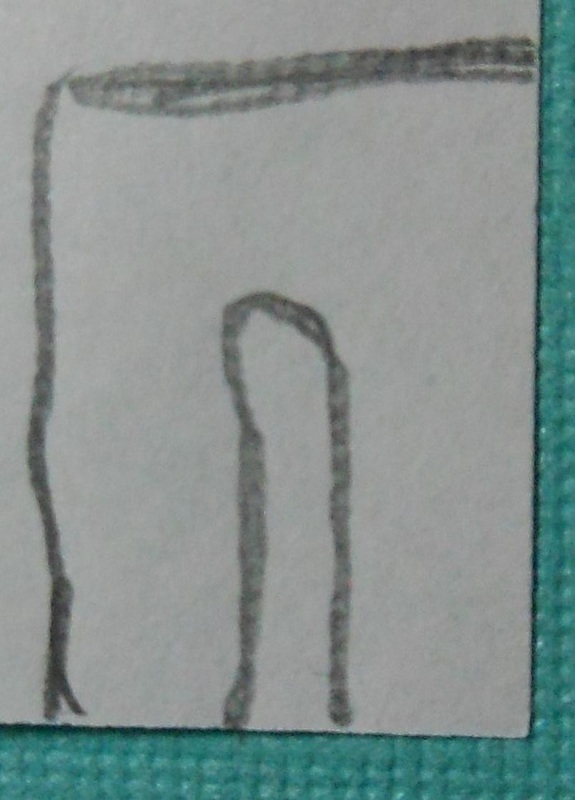
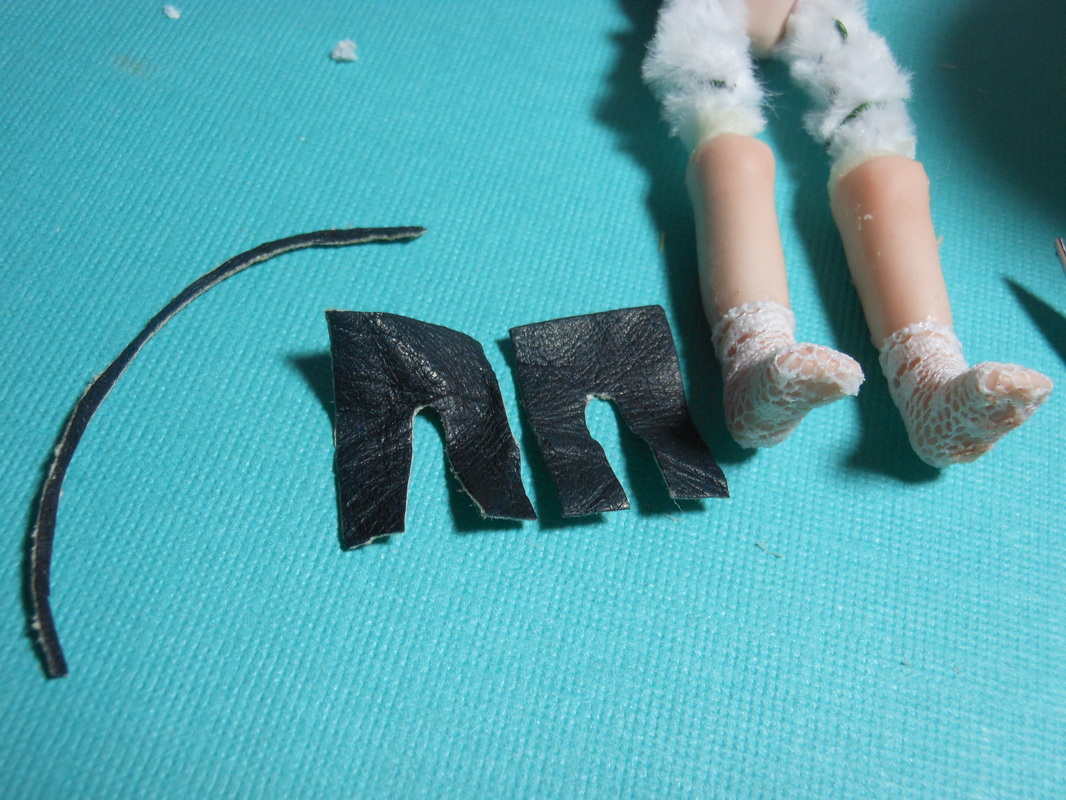
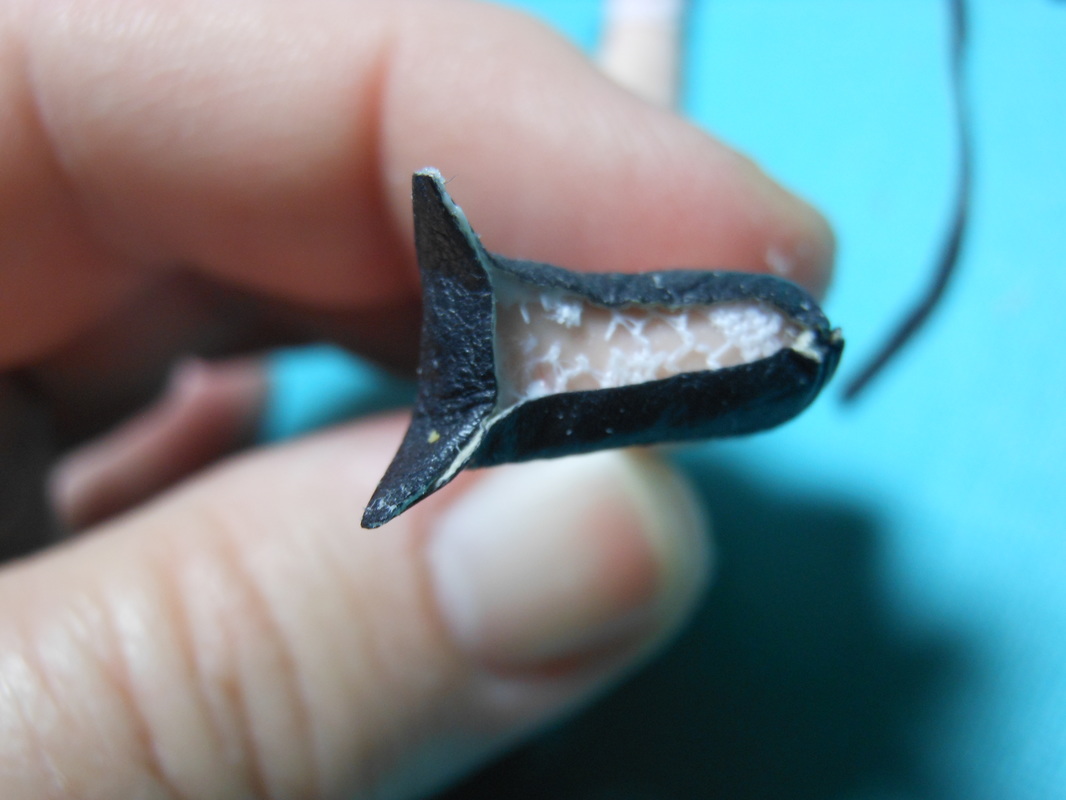
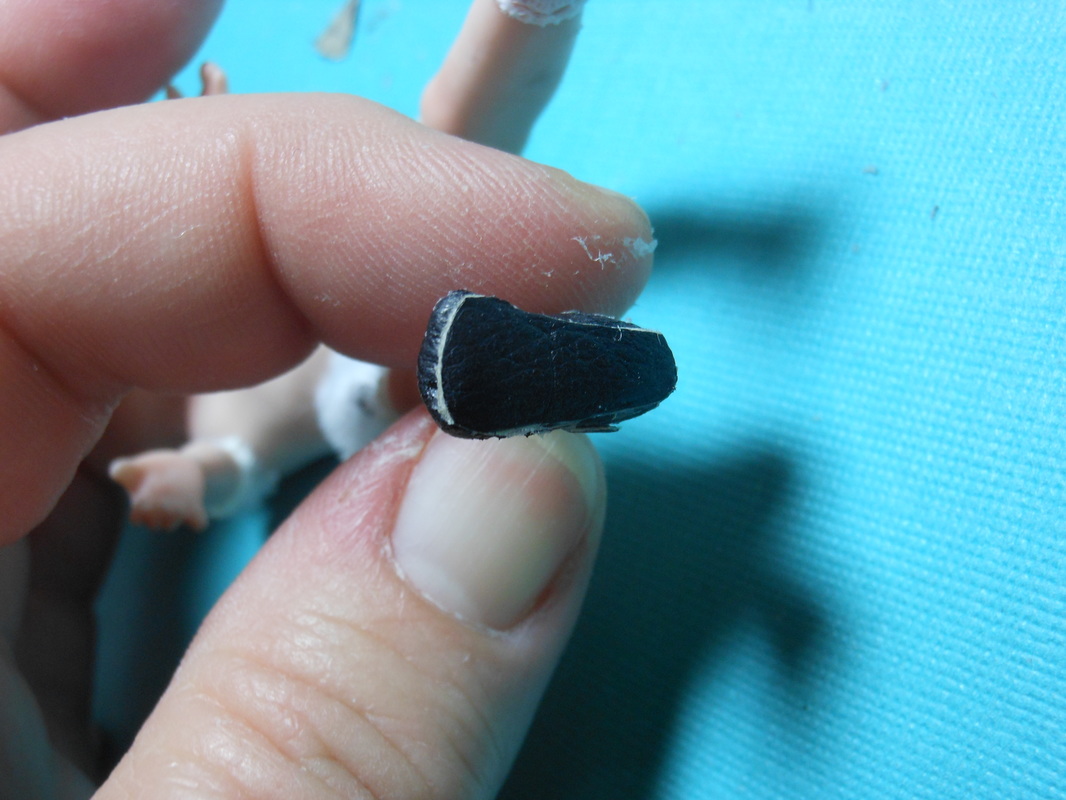
1. Cut two pieces of leather at the same time to get the same shape for each shoe. Measure from middle of dolls heel up and around to ¼” longer than her large toe and from ¼” wider on each side of doll’s foot. Cut the ‘U’ shape out of the center leaving plenty of space on each side to cover the sides of the shoe area and enough to go just under the foot sides. Slather glue on once piece and put on the foot butting up the back edge behind the heel and folding over the sides of the foot.
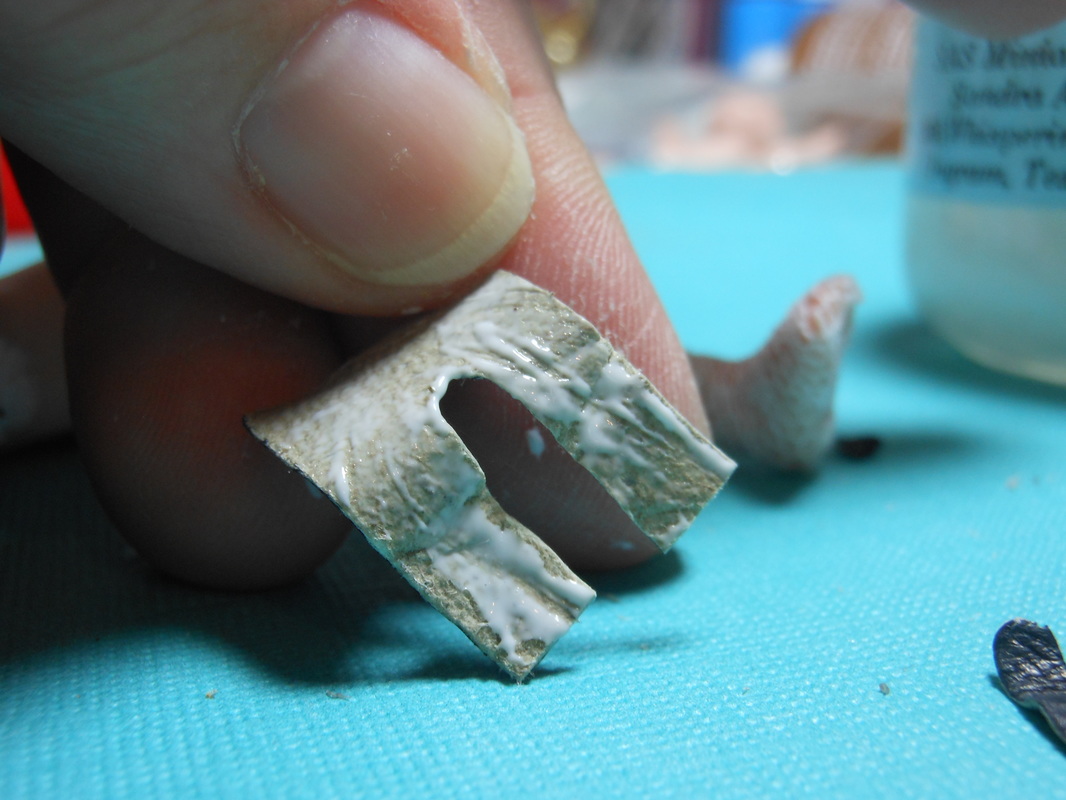
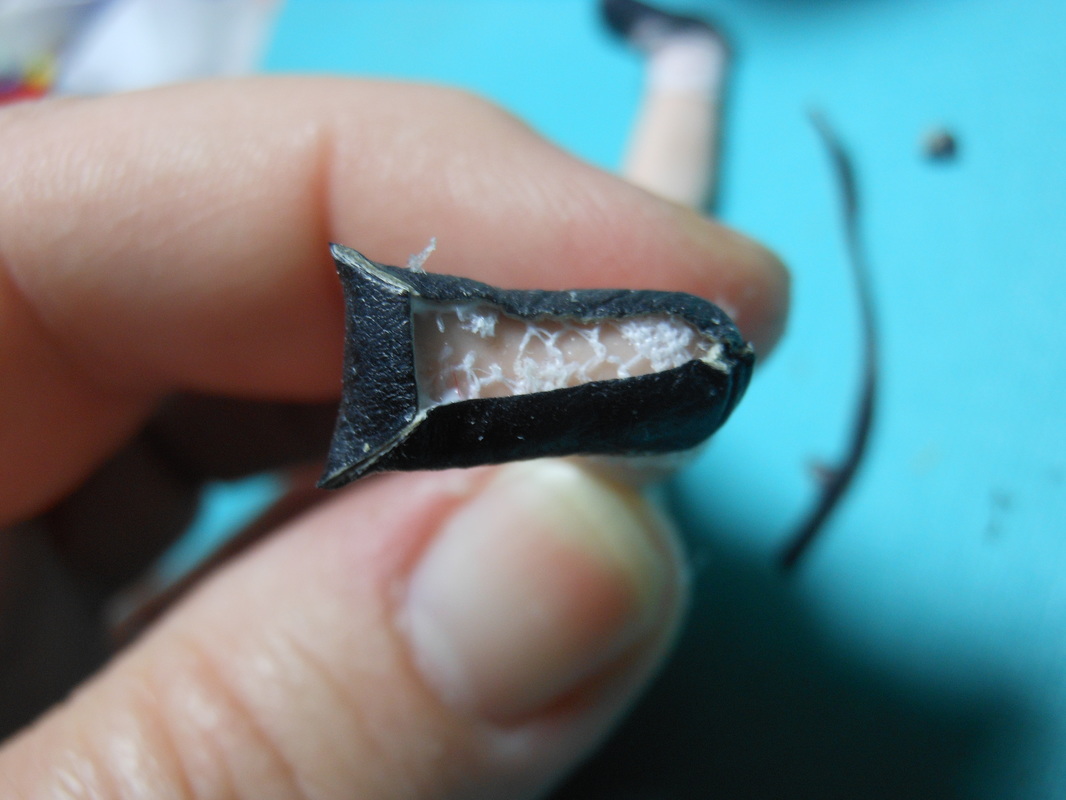
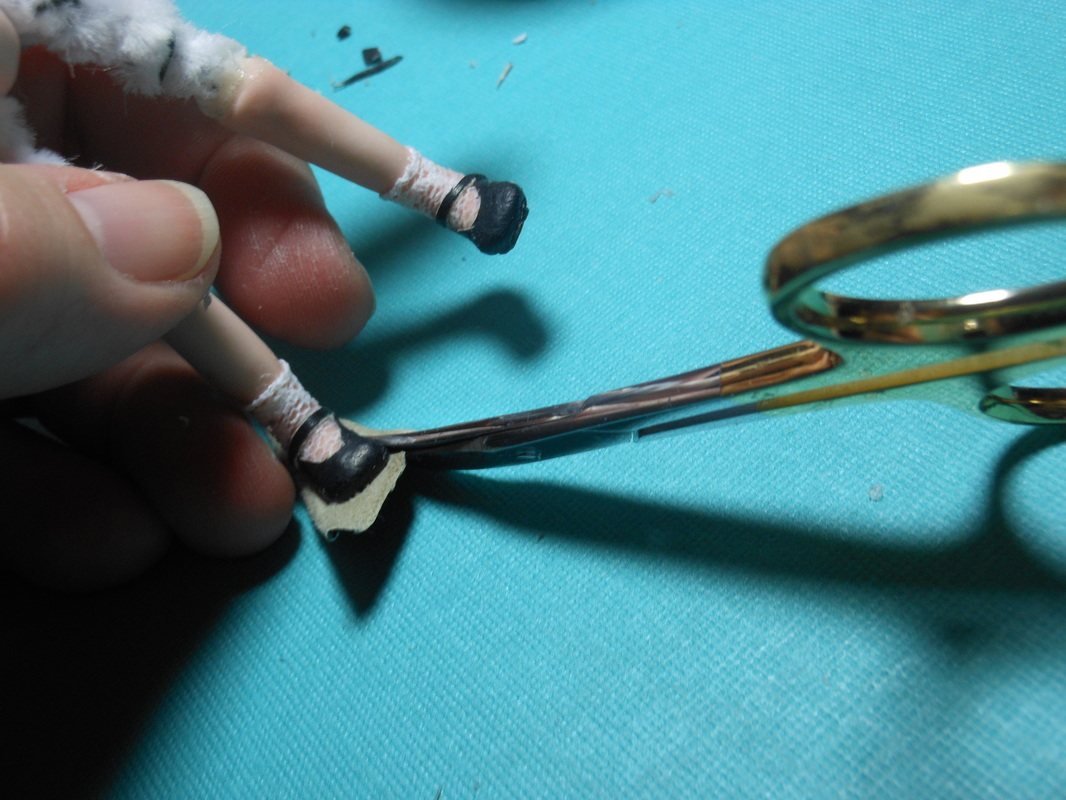
2. Add more glue if needed at the toe area and fold down. Clip off the glued leather pieces that look like ears and squeeze and pull the toe area to glue up tightly under the foot. As you squeeze and pull this, the front of the shoe will gape open more so be careful to do both shoes the same. Press with an iron to set glue.
1. Cut two pieces of leather at the same time to get the same shape for each shoe. Measure from middle of dolls heel up and around to ¼” longer than her large toe and from ¼” wider on each side of doll’s foot. Cut the ‘U’ shape out of the center leaving plenty of space on each side to cover the sides of the shoe area and enough to go just under the foot sides. Slather glue on once piece and put on the foot butting up the back edge behind the heel and folding over the sides of the foot.
2. Add more glue if needed at the toe area and fold down. Clip off the glued leather pieces that look like ears and squeeze and pull the toe area to glue up tightly under the foot. As you squeeze and pull this, the front of the shoe will gape open more so be careful to do both shoes the same. Press with an iron to set glue.
|
|

|
3. Fill in area of porcelain foot that does not have leather on it. I use the ‘U’ shape or pieces I’ve trimmed off to do this. Just add a bit of glue and fill in with scraps-trim where necessary. Press with an iron to set up.
of space on each side to cover the sides of the shoe area and enough to go just under the foot sides. Slather glue on once piece and put on the foot butting up the back edge behind the heel and folding over the sides of the foot.
2. Add more glue if needed at the toe area and fold down. Clip off the glued leather pieces that look like ears and squeeze and pull the toe area to glue up tightly under the foot. As you squeeze and pull this, the front of the shoe will gape open more so be careful to do both shoes the same. Press with an iron to set glue.
|
|
|
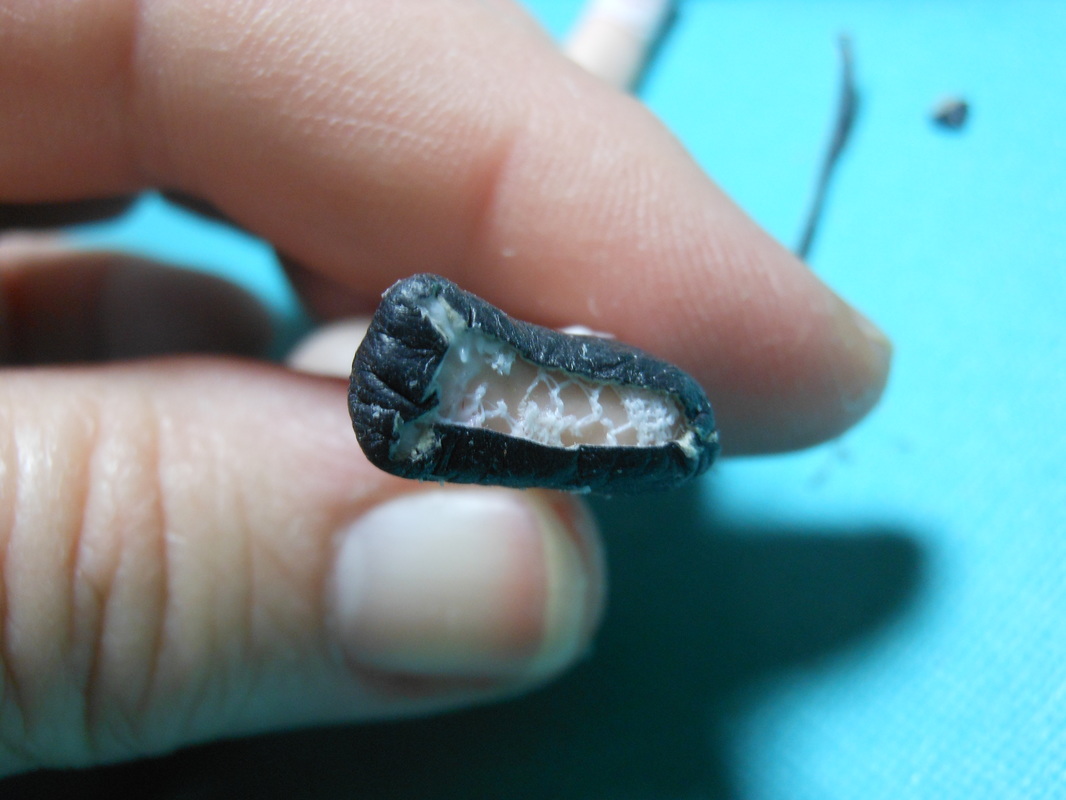
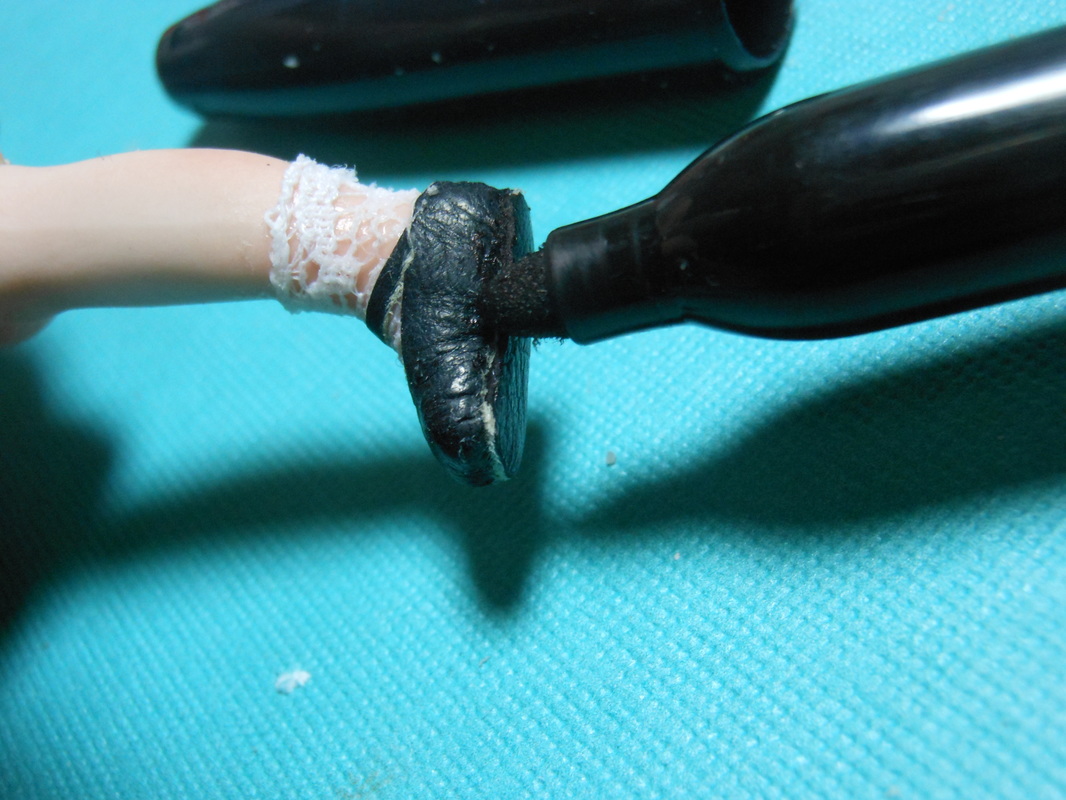
4. Slather glue along the bottom of the foot. Place foot on another piece of leather and let glue dry. Using curved scissors, trim off excess around shoe to form the sole. Cover any discoloration of leather with a sharpie or permanent marking pen.
side to cover the sides of the shoe area and enough to go just under the foot sides. Slather glue on once piece and put on the foot butting up the back edge behind the heel and folding over the sides of the foot.
side to cover the sides of the shoe area and enough to go just under the foot sides. Slather glue on once piece and put on the foot butting up the back edge behind the heel and folding over the sides of the foot.
|

|
|
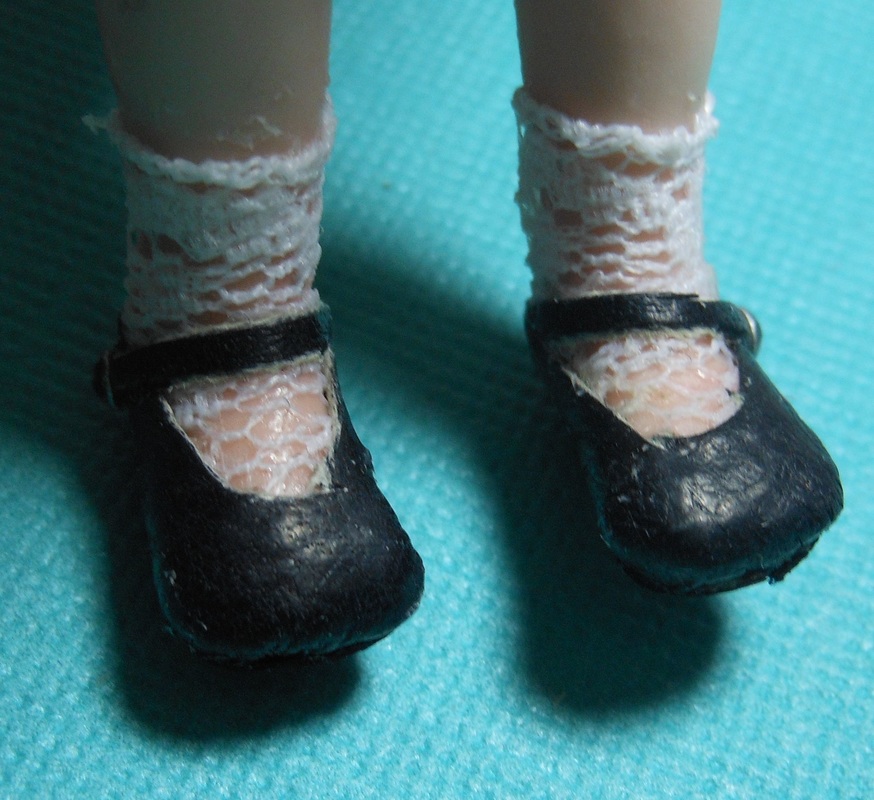
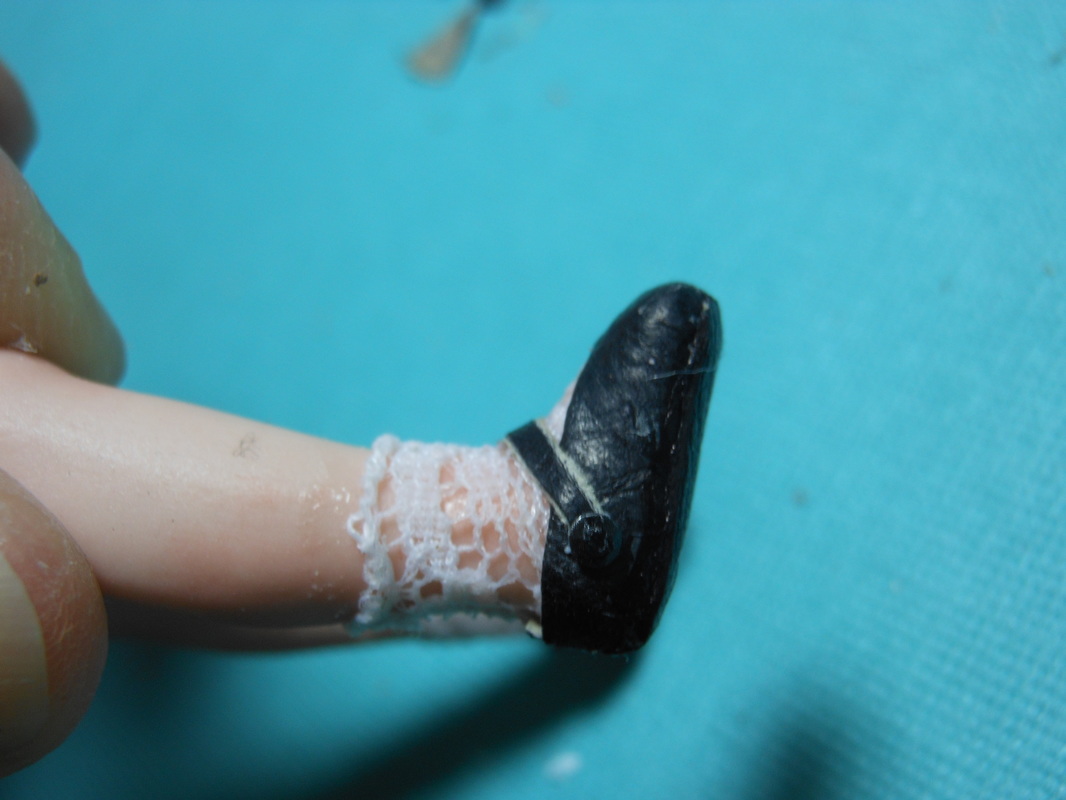
5. Cut a skinny long piece of leather for the strap. Place a line of glue from the outside edge of the shoe to the inside edge at the ankle. Place leather piece in the glue and trim with a slant cut at the inside edge to follow the shoe line. Place a dot of glue on outside edge of strap and add a tiny button or bead.