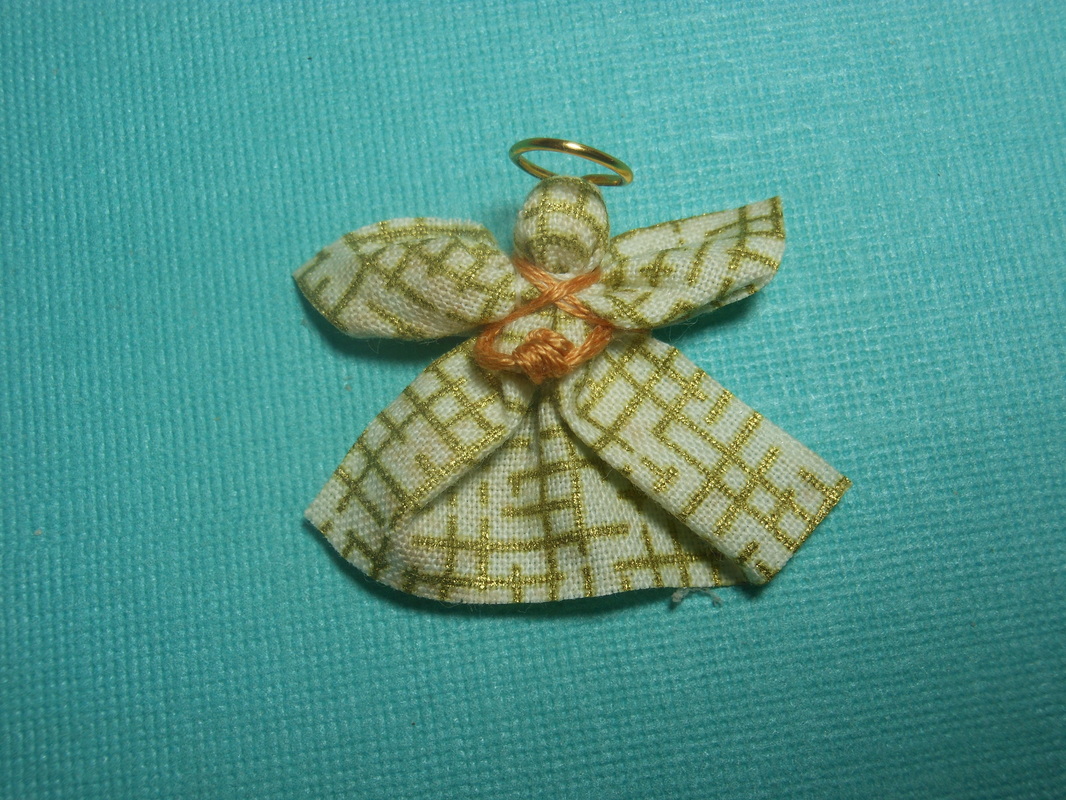
A Tiny Christmas Angel
You will need:
Small scrap of fabric, strong thread, cotton ball piece, embroidery cotton, wire, and glue.
Small scrap of fabric, strong thread, cotton ball piece, embroidery cotton, wire, and glue.

|
|
|
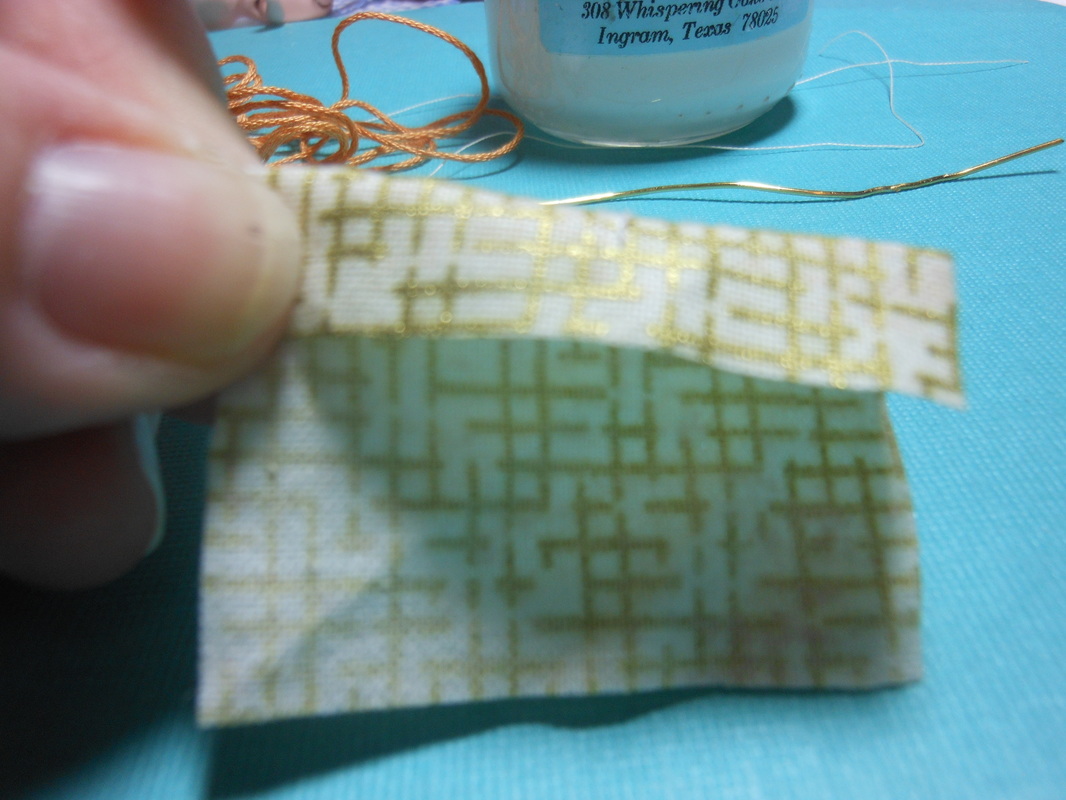
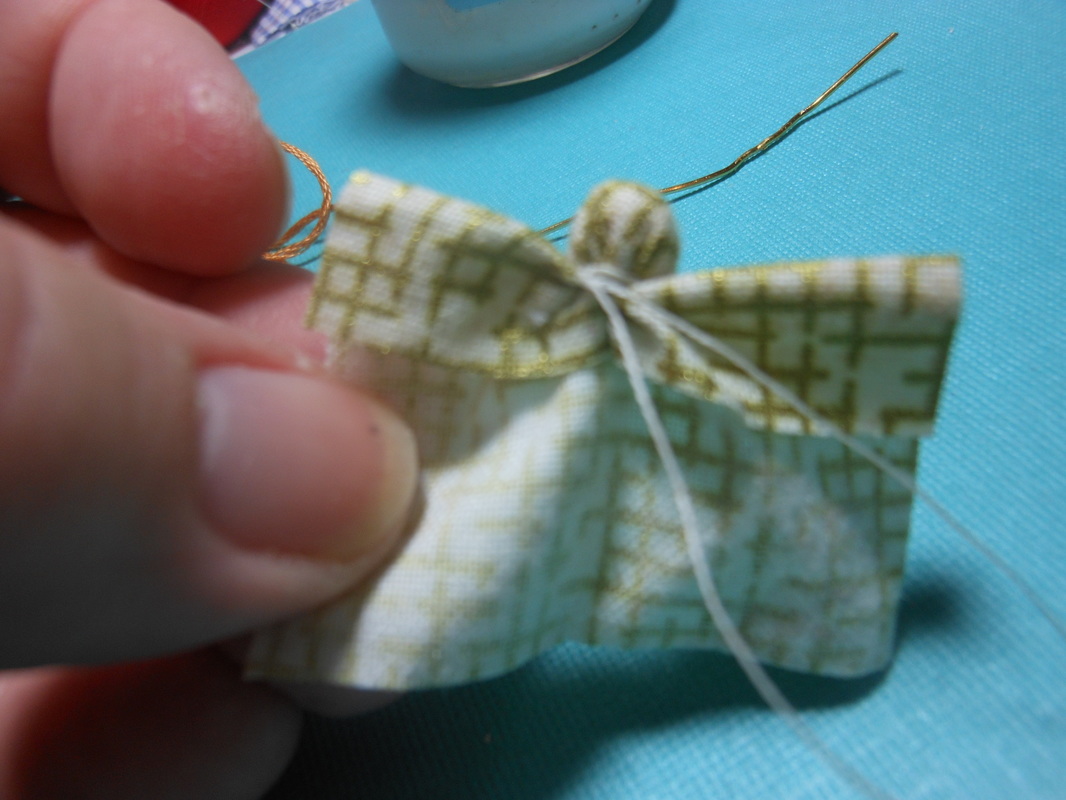
1. Cut a scrap of fabric 1.5” X 1.5”. Fray check all four sides (I used clear nail polish to keep the fabric from fraying). Fold your square in half and finger press sides at half way mark. Unfold and then refold top ½ to the half way mark that you pressed in.
|
|
|
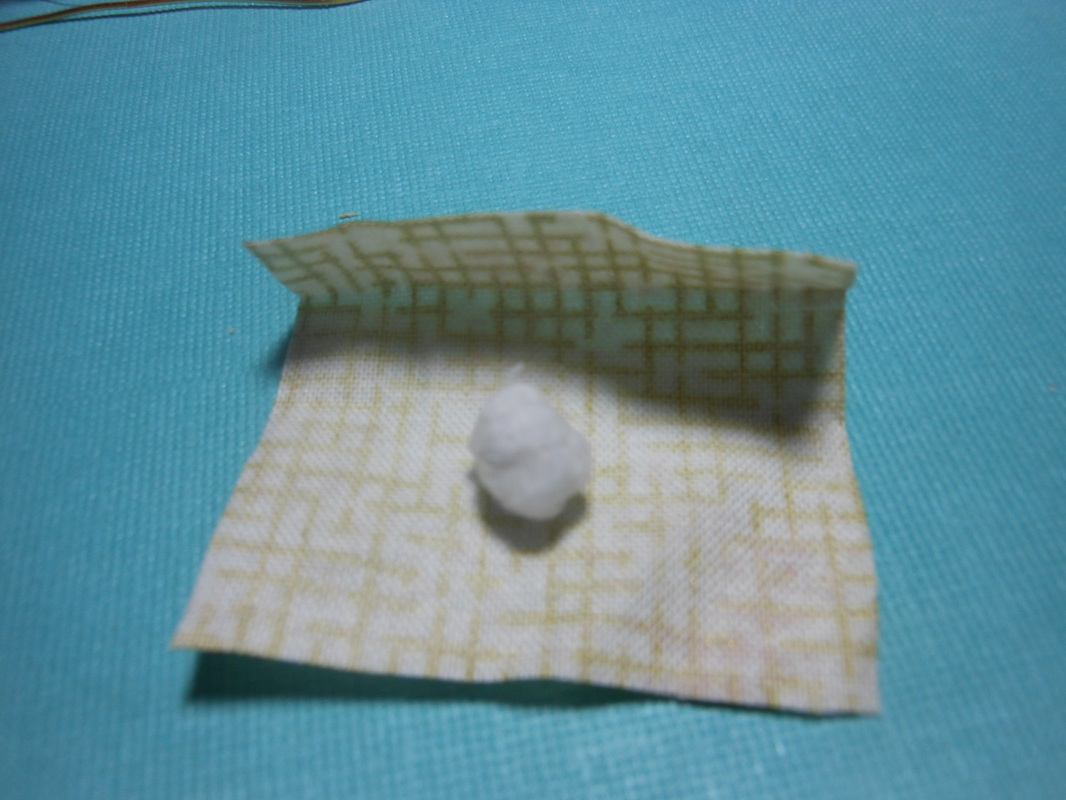
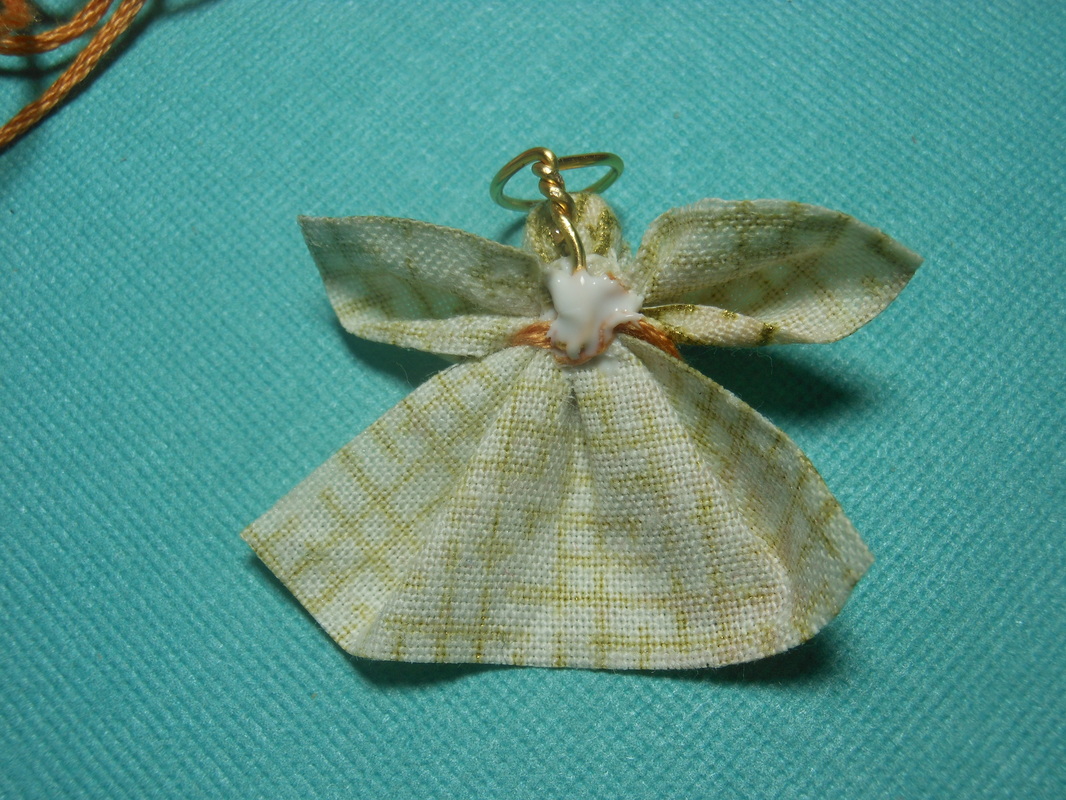
2. Cut a very small piece of cotton from a cotton ball and add a tiny dab of glue to it. Roll this in your hands to make a small ball. Place the ball in the center of the fold and wrap three times with thread. Tie to secure the ‘head’.
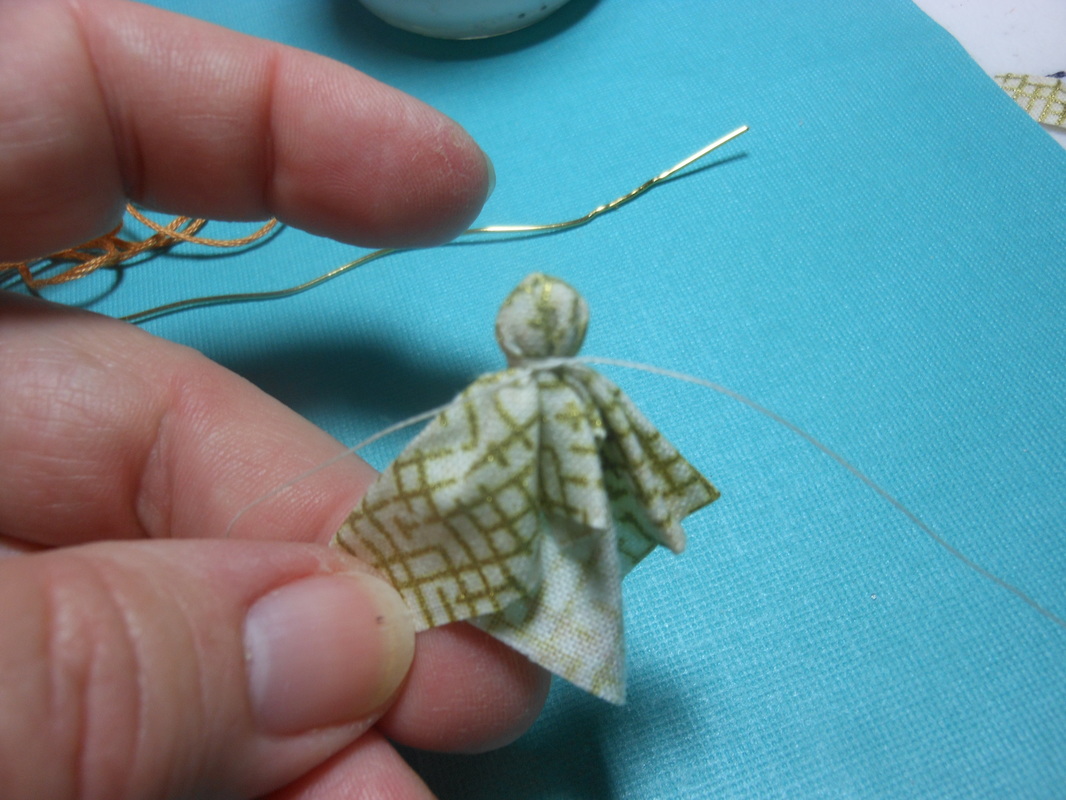
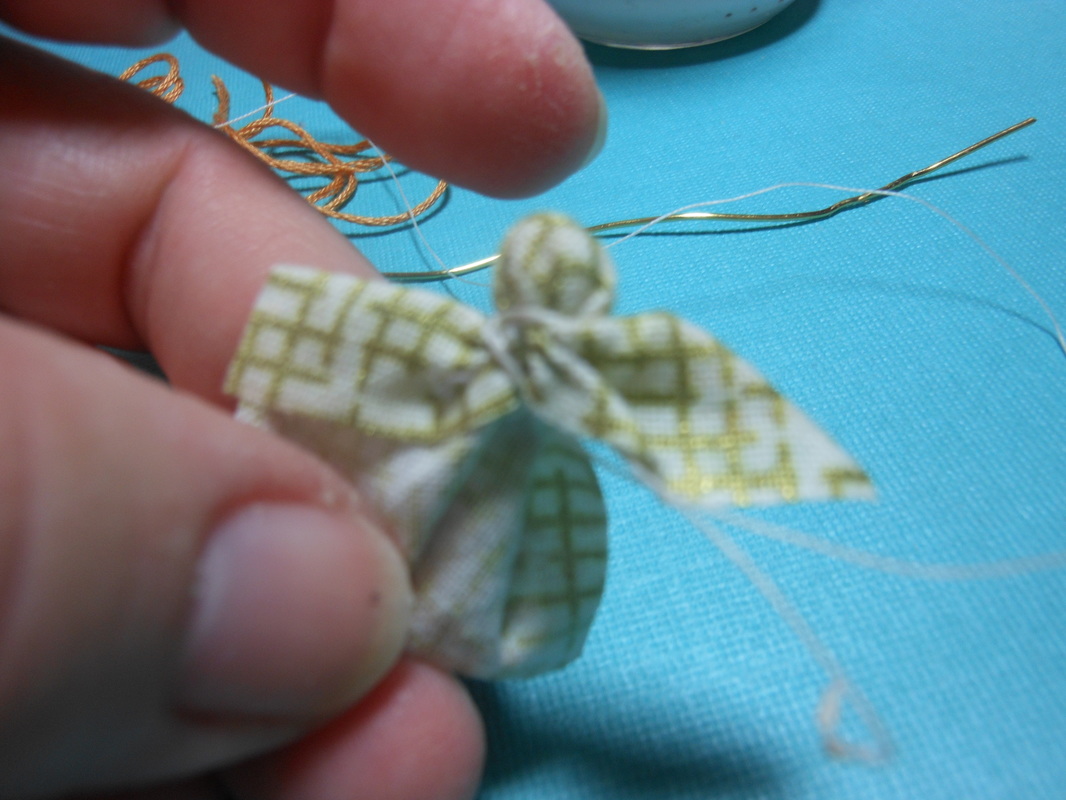
3. Wrap around the far side of the head and under the fold three times pulling tightly to make the first wing. Tie tightly and do the same for the second wing on the opsite side. Double tie your thread and place a tiny dot of glue on tie to hold.
3. Wrap around the far side of the head and under the fold three times pulling tightly to make the first wing. Tie tightly and do the same for the second wing on the opsite side. Double tie your thread and place a tiny dot of glue on tie to hold.
|
|

|
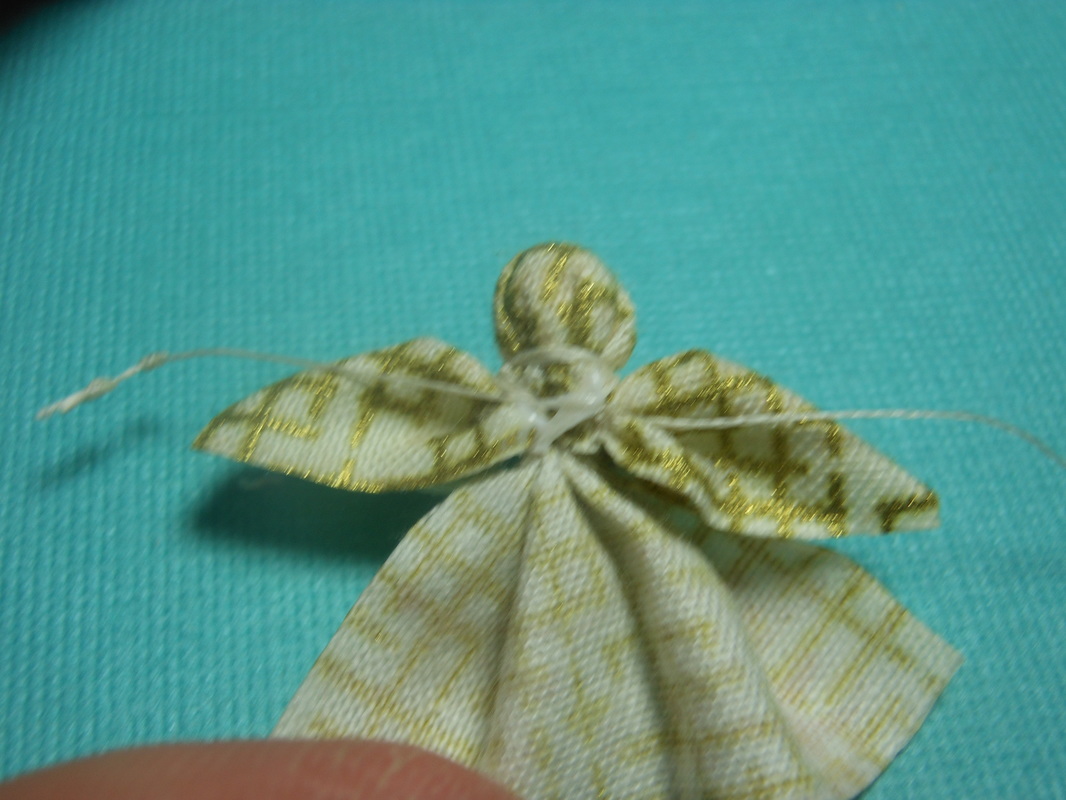
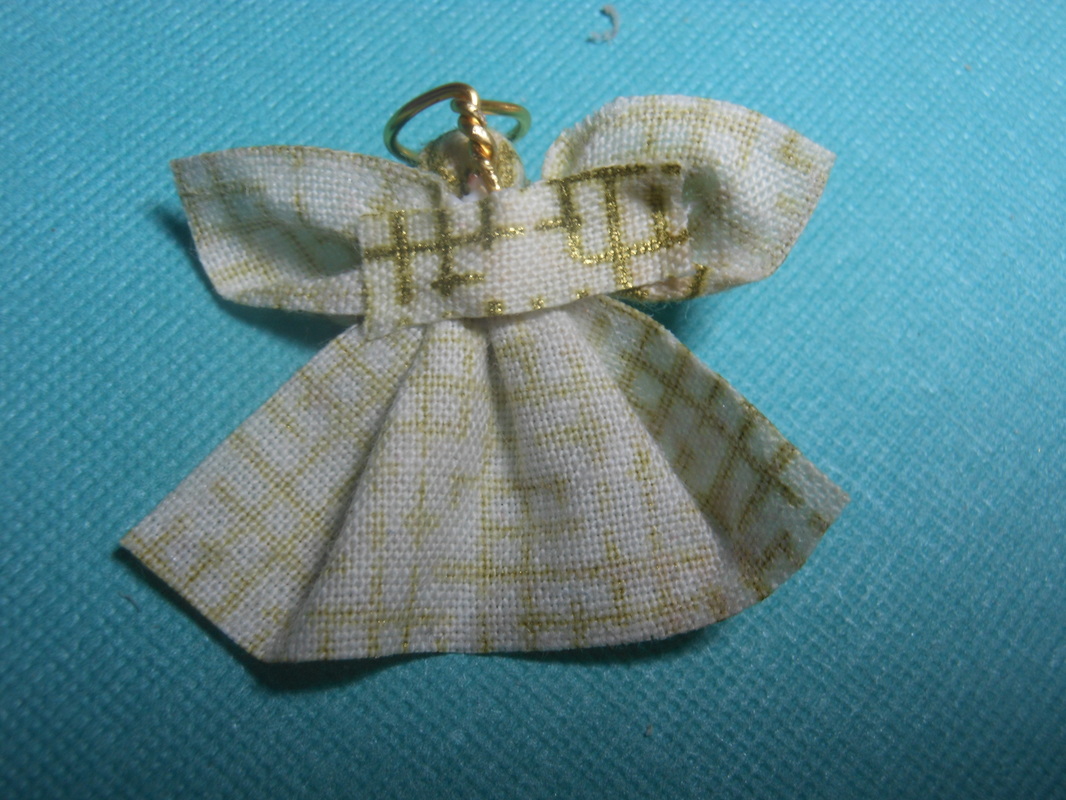
4. Turn Angel to face you and gently tug and pull out wings to form as needed.
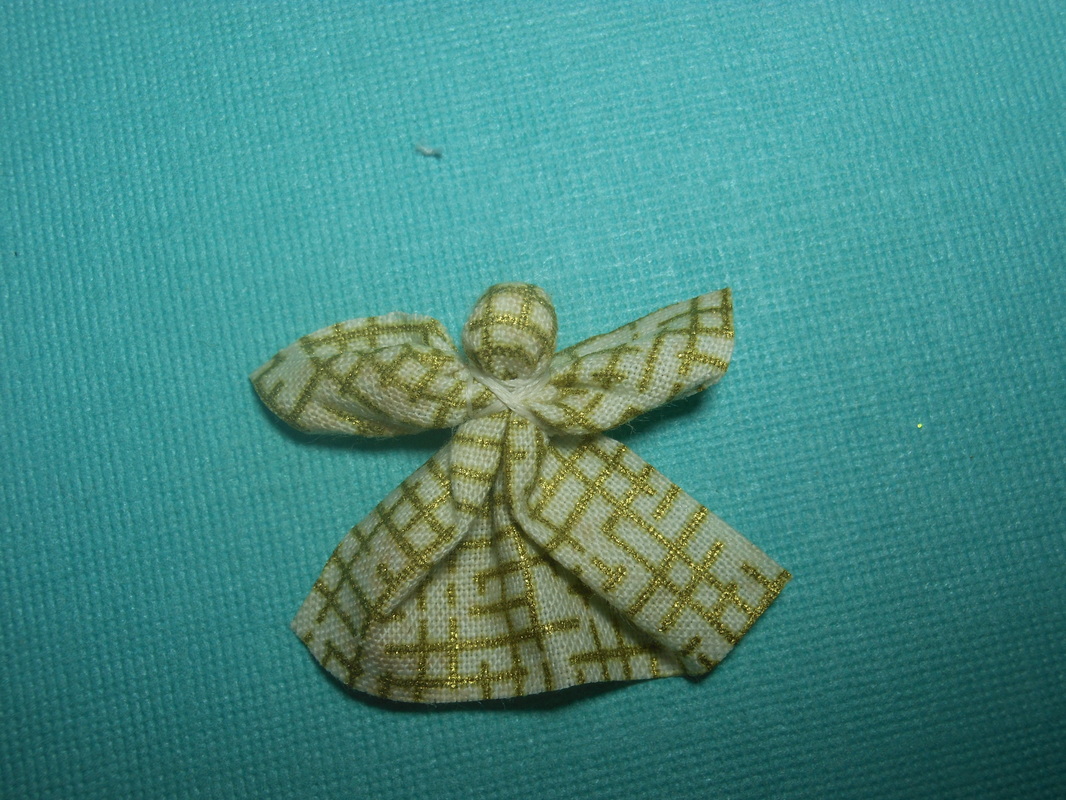
5. Wrap a small piece of wire around a pencil, dowel, or other round form to make a halo. Be sure to leave a piece of wire hanging down the back side of the halo to attach at the center of the wing area.
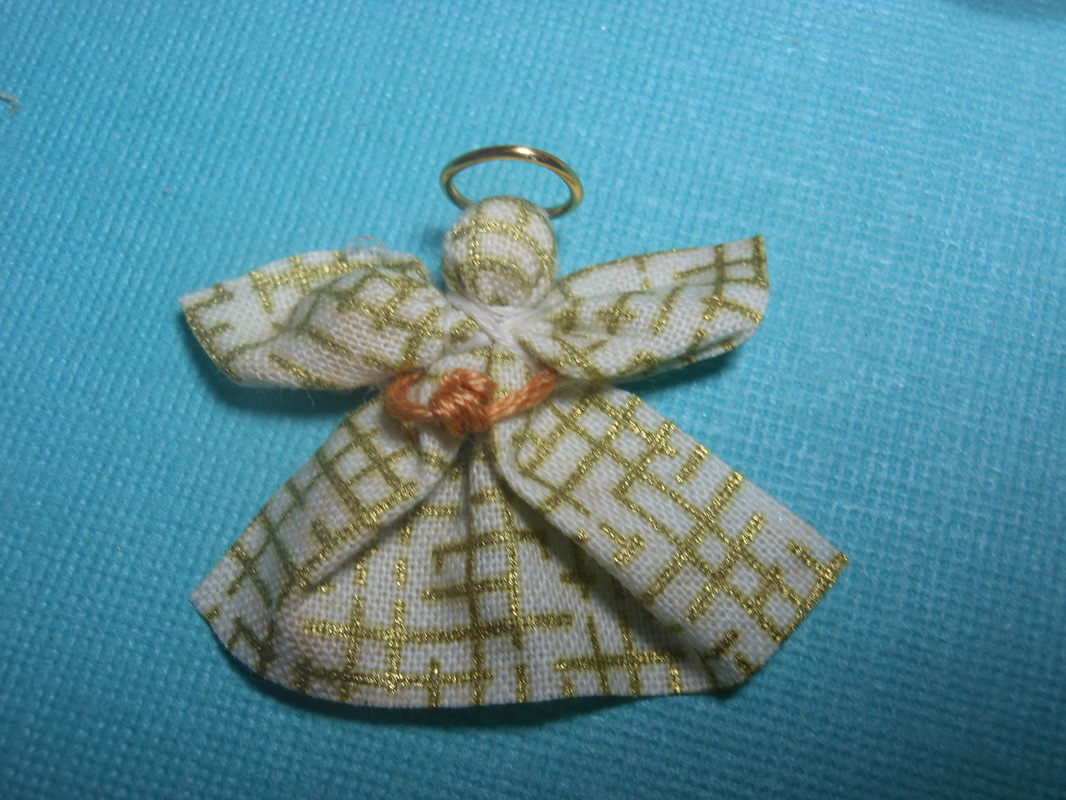
6. Grasp a small piece of embroidery thread, approximately 1-2” long, and tie a loose knot in the center of it. Tie one to two more loose knots on top of the first to represent clasped hands of the angel. Drape the knot in front of the angel and glue ends behind her wings.
Note: You might want to go over the white threads used to form the head and wings with a bit of embroidery thread to match her hands. Then proceed to step 7 to finish off.
5. Wrap a small piece of wire around a pencil, dowel, or other round form to make a halo. Be sure to leave a piece of wire hanging down the back side of the halo to attach at the center of the wing area.
6. Grasp a small piece of embroidery thread, approximately 1-2” long, and tie a loose knot in the center of it. Tie one to two more loose knots on top of the first to represent clasped hands of the angel. Drape the knot in front of the angel and glue ends behind her wings.
Note: You might want to go over the white threads used to form the head and wings with a bit of embroidery thread to match her hands. Then proceed to step 7 to finish off.
|
|
|
7. Add halo on the back with a bit of glue at wing area. Take a small piece of scrap fabric ¼” X ½” or so and glue across and over the embrodery thread ends and wire to help hold in place. Let dry and place your angel where you wish. She can hang from a wall, sit on the sofa, or be cuddled by a lovely little girl.